Sometime we have to request files from different host using ajax, and it may create problem because of CORS polices.
CORS means Cross-Origin Resource Sharing (CORS).
Cross domain request will be block by most of the browsers due to same-origin security policy. so we have to enable CORS on our server.we can do this by setting Access-Control-Allow-Origin in a PHP with changing server.
if we need to allow a request from a perticular domain we can restrict as below
If you need to clear all the input fields irrespective of type in a form, try the below code. The below code works even if your fields contains place holders.
    $.fn.clearForm = function() {
      return this.each(function() {
        $(':input', this).each(function() {
          var type = this.type, tag = this.tagName.toLowerCase();
          if (type == 'text' || type == 'password' || tag == 'textarea')
            this.value = '';
          else if (type == 'checkbox' || type == 'radio')
            this.checked = false;
          else if (tag == 'select')
            this.selectedIndex = -1;
        });
      });
    };
In most case, we want to extend our Laravel applications capabilities by adding helper class.
It is not a best practice to insert this classess inside Controller and Model.
so we have to write our classess in separate files and group it by folder
Here let us have a look how we add helper classess in laravel
1. We have app folder on root folder of laravel.There we can create a Libraries folder inside app folder.
2. We can create a class/helper file and we can write a our custom class there, on the top of custom class we have to define namespace our_folder_name;
namespace our_folder_name
for example ,
//here my folder name is Libraries
namespace Libraries;

class className{

    //class methodes

}
Now we can go to our controller and on top we can include our helper class
use Libraries\filename as filename;
And we can go to compser, inside autoloder we can add “app/foldername”
All my samples files are given below
Library/className.php
<?php
 namespace Libraries;

class className{

    //class methodes

    function testmesthode(){

        return "Hello world";
    }

}
testController.php
<?php

use Libraries\className as className;

class testController extends BaseController {


    function index(){

        $test = new className();
        echo $test->testmesthode();

    }

}
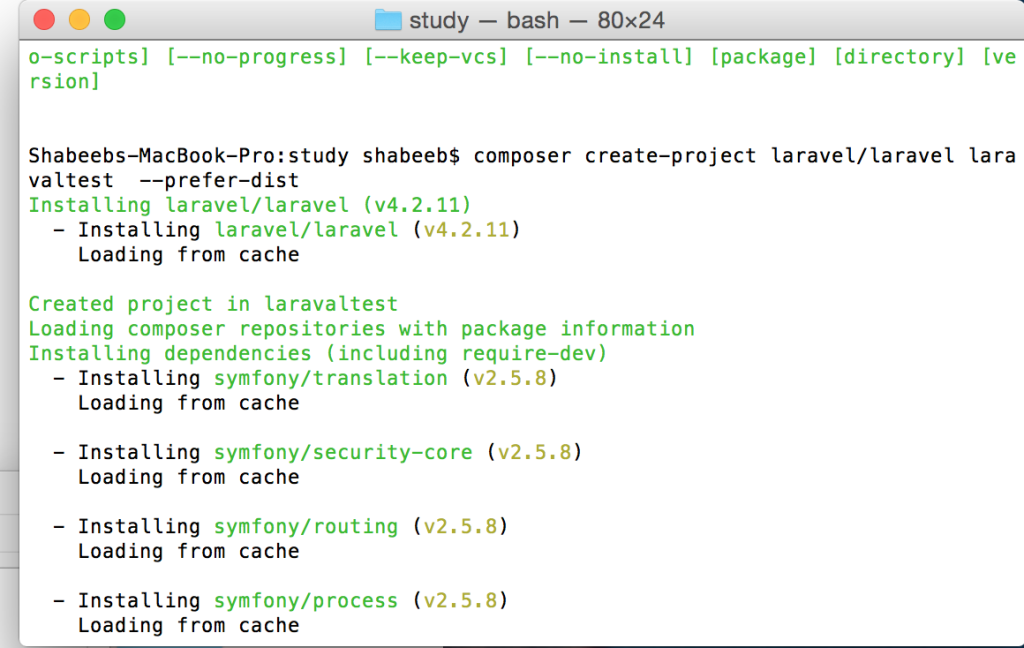
Today i was trying to install laravel in MAMP , While going through their step on laravel site mentioned i found that i didn installed mycript extension. I had googled for lot of time and lastly i installed .
I am writing this will help some one to install laravel in Mac using MAMP.
Install composer
Before installing laravel we have to install composer . We can go to https://getcomposer.org/ and we can install from from there or we can follow the following steps step
1. first we have to check curl is enabled . step 2. we can install composer globally as mentioned in their site
Lorem Ipsum is simply dummy text of the printing and typesetting industry. Lorem Ipsum has been the industry’s standard dummy text ever since the 1500s, when an unknown printer took a galley of type and scrambled it to make a type specimen book. It has survived not only five centuries, but also the leap into electronic typesetting, remaining essentially unchanged. It was popularised in the 1960s with the release of Letraset sheets containing Lorem Ipsum passages, and more recently with desktop publishing software like Aldus PageMaker including versions of Lorem Ipsum.
Lorem Ipsum is simply dummy text of the printing and typesetting industry. Lorem Ipsum has been the industry’s standard dummy text ever since the 1500s, when an unknown printer took a galley of type and scrambled it to make a type specimen book. It has survived not only five centuries, but also the leap into electronic typesetting, remaining essentially unchanged. It was popularised in the 1960s with the release of Letraset sheets containing Lorem Ipsum passages, and more recently with desktop publishing software like Aldus PageMaker including versions of Lorem Ipsum.
Lorem Ipsum is simply dummy text of the printing and typesetting industry. Lorem Ipsum has been the industry’s standard dummy text ever since the 1500s, when an unknown printer took a galley of type and scrambled it to make a type specimen book. It has survived not only five centuries, but also the leap into electronic typesetting, remaining essentially unchanged. It was popularised in the 1960s with the release of Letraset sheets containing Lorem Ipsum passages, and more recently with desktop publishing software like Aldus PageMaker including versions of Lorem Ipsum.
0 px
Now Let us look a demo with window object ,
Enter a value to scroll top
Now letus look scrollTo with animations
Lorem Ipsum is simply dummy text of the printing and typesetting industry. Lorem Ipsum has been the industry’s standard dummy text ever since the 1500s, when an unknown printer took a galley of type and scrambled it to make a type specimen book. It has survived not only five centuries, but also the leap into electronic typesetting, remaining essentially unchanged. It was popularised in the 1960s with the release of Letraset sheets containing Lorem Ipsum passages, and more recently with desktop publishing software like Aldus PageMaker including versions of Lorem Ipsum.
Lorem Ipsum is simply dummy text of the printing and typesetting industry. Lorem Ipsum has been the industry’s standard dummy text ever since the 1500s, when an unknown printer took a galley of type and scrambled it to make a type specimen book. It has survived not only five centuries, but also the leap into electronic typesetting, remaining essentially unchanged. It was popularised in the 1960s with the release of Letraset sheets containing Lorem Ipsum passages, and more recently with desktop publishing software like Aldus PageMaker including versions of Lorem Ipsum.
Lorem Ipsum is simply dummy text of the printing and typesetting industry. Lorem Ipsum has been the industry’s standard dummy text ever since the 1500s, when an unknown printer took a galley of type and scrambled it to make a type specimen book. It has survived not only five centuries, but also the leap into electronic typesetting, remaining essentially unchanged. It was popularised in the 1960s with the release of Letraset sheets containing Lorem Ipsum passages, and more recently with desktop publishing software like Aldus PageMaker including versions of Lorem Ipsum.
0 px
Now Let us look a demo with window object animated ,
Enter a value to scroll top
Today i saw some interesting hidden features in Mac, Which most of them not using. Here i am giving which i like to use with short keywords.
-Take a Full screenshot
You can holding down command + shift + 3 to take the complete screenshot of your mac
if you want to save it copy board, can holding down command + ctrl + shift + 3
– Part of screen
For taking screenshot of a special part of screen you can holding down command + shift + 4 Then cursor will change to + and can drag where you want to take screenshot. It will be saved in folder (Desktop by default).
if you want to save it copy board, can holding down command + ctrl + shift + 4
– Spotlight search
you can holding down Command + Spacebar to show Spotlight search, type and search on your mac an internet.
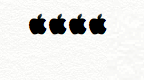
– Apple symbol
On any Apple computer, you can create an Apple icon by holding down Option + Shift + K, It will create a apple symbol like this 😉
Apple_symbol from mac
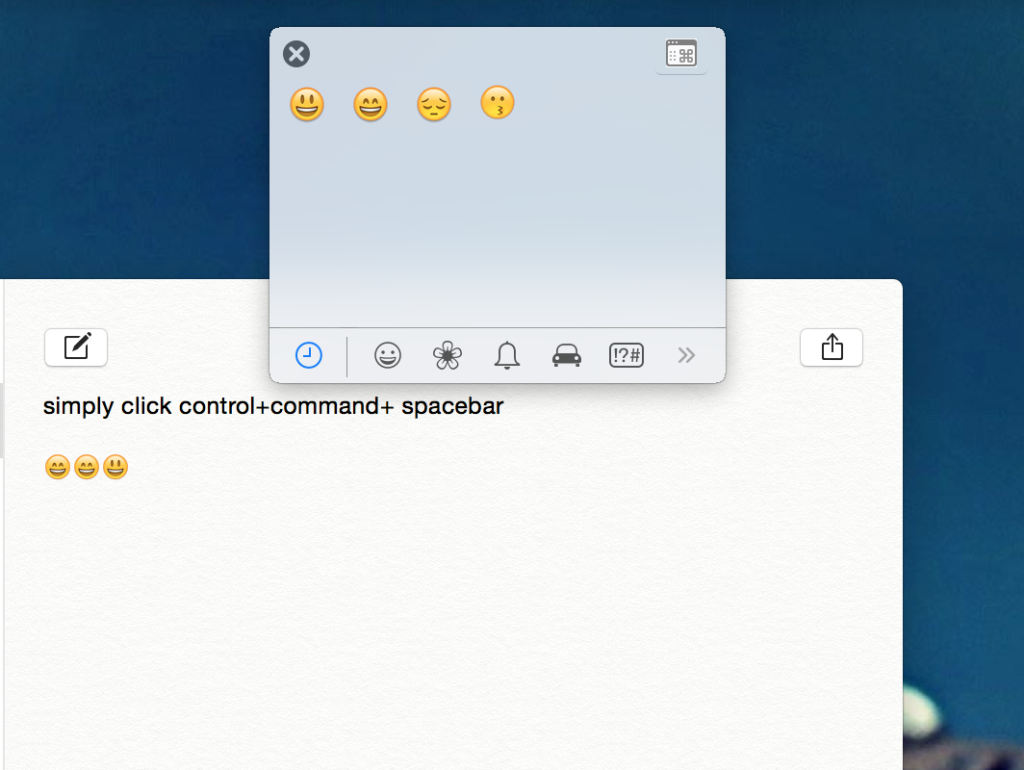
– Built-in Mac emoticons
On mac we can use emoticons by simply holding down ctrl+⌘+space . it will appear a box of emoticions.
mac-emotions
– Quick preview with spacebar
We can quick preview any file by selecting the file and pressing the spacebar. Press the space agin it will auto close. On menu you can see compatible apple also .